Behind the Scenes
The Making of a Zimmerman Painting
Step 1: The Inspiration

Inspiration in any season is often a bike trail away
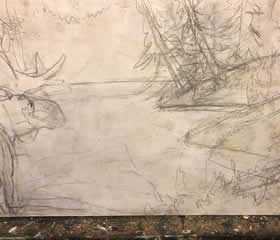
Rough ideas are sketched directly on the canvas
David Zimmerman is no stranger to the wildlife and landscapes of the Canadian Rockies. Often out on his bike or hiking through the eastern slopes of the Rockies, David can be found gathering inspiration for his stunning works. As for the wildlife that frequents a Zimmerman canvas, he often does not need to look farther than out his studio window as moose, deer, bear and, on occasion, elk and cougar meander through his backyard wandering on their own trails. Once an idea takes shape, it is sketched out directly on primed hardboard and the life of the painting has begun. Unlike many pieces of art, there are countless layers and varying drying times for the different materials and techniques before it is ready for its final home.
Step 2: Gel Medium
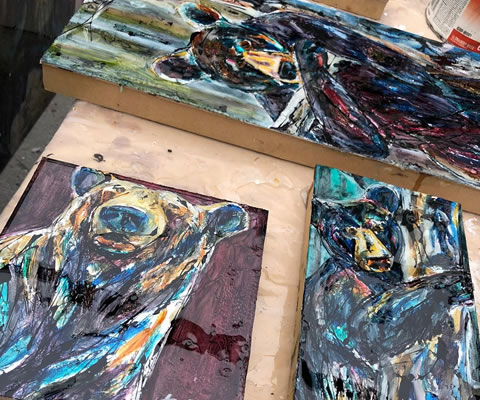
An original Zimmerman painting is crafted and sculpted before it is painted. With a general idea of the subjects and backdrops of the painting, David applies his own special recipe of gel medium to the entire canvas, building up texture and depth as required by the subjects being painted. Gel medium is a material made from an acrylic paint base without colour added that David mixes with a commercial grade product to give it a tack for fabrics and foils to bond to. The fur on a bear or moose, or the boughs of a tree stand out from the rest of the painting, which is a result of the gel medium at work. The medium also contributes to the painting’s depth because of the ways that the oil paints create a story of their own as they become trapped in the creases and folds of the gel medium, producing a mottled effect.
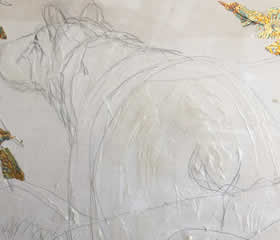
Gel medium builds up texture and depth
Step 3: Fabrics and Foils
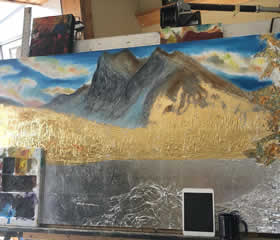
Metallic foil is applied to create a luminescent base
Each stage of the painting requires drying or curing before the next can be started. Once the gel medium has dried and become translucent, the artwork is ready for texture. Thin layers of gold foil leaf or silver foil leaf are applied, usually to the painting’s animals, trees, and water, to create a luminescent base that will reflect light when the painting is finished, accentuating sunlight and contrasting with deep, rich colors found in the shadows of the piece. Occasionally, burlap and other fabrics are added to contribute to the texture in the beard of a moose, or the hump of a grizzly bear’s shoulders.
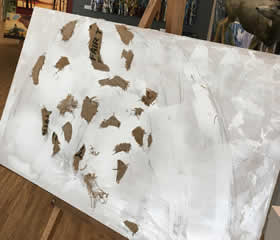
Fabric is added to give additional texture
Step 4: Oil Painting
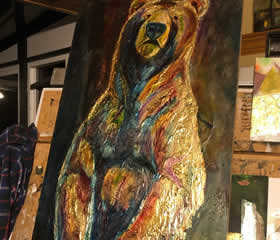
Thinly applied oil paint layers allow the foil base to shine through
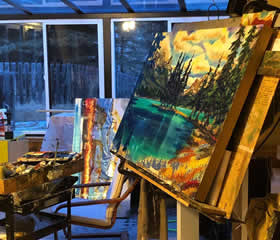
Rich oil colours is a signature feature of a Zimmerman art piece
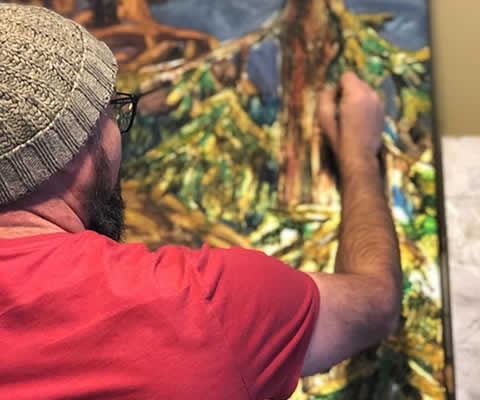
The painting phase is where the magic truly happens. If you have had the privilege of attending a painting night event that David hosts a few times a year for a community fundraiser, you will hear him speak of this painting style being a discovery process. While realist painters use a tight style in their detailed craft, David employs a looser approach–having a direction of where the painting should go but being open to the opportunities presented by the unique techniques and materials of his trademark style. You can see it for yourself if you stand for a while and explore a finished Zimmerman: nuances that are suggested by the underlying textures which are then discovered and enhanced by the artist. It’s as if each piece is an abstract painting and yet points you to a recognizable setting or familiar feature.
David paints with oils because of their rich colours and beautiful vibrancy. He also enjoys that they stay “open” longer, allowing him to mix colours on the canvas itself, instead of on the painting palette. Often painting in thin layers, David’s technique lets the colours interact and play with one another and allows the gold leaf and silver leaf to shine through for the glistening, shimmery effect that his work is famous for.
Step 5: Sign Ink
After the oil paints have dried, David applies black sign ink from above over elements of the painting, creating an outlining effect of the subjects and landscapes that contribute to their whimsical feel and personality. It is in this stage where things start to get risky; where hours of preparation and painting can be ruined in a single misapplied stroke. To get the desired effect, a brush is dipped in ink and then drizzled and splashed on the canvas in a “Jackson Pollock” like fashion.
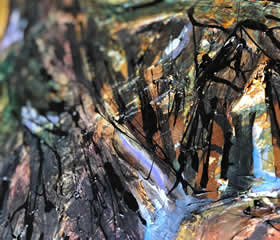
Sign ink is drizzled and splashed on the canvas in Jackson Pollock fashion
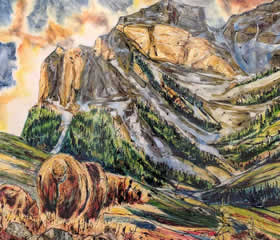
Sign ink creates an outlined, whimsical feel to the paintings
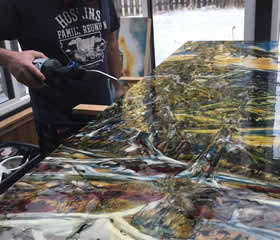
Resin is poured on and then heated to help it spread across the canvas
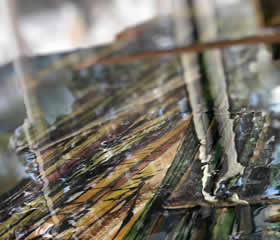
The resin hardens into a jeweled surface that shines
Step 7: Light
While not a part of the painting itself, a Zimmerman really comes alive when lit properly. The lighting technique is quite different than other artwork because the gloss finish can create a glare when not done properly. To achieve the desired effect, read about How to Hang Your Zimmerman Art. Done well, the light dances and bounces off the many layers of texture, making it sparkle like a diamond, especially as the viewer moves about and examines the painting in various locations. This harmony of art and light is what makes a Zimmerman such a conversation piece and the perfect finishing touch to a living room, foyer, or other places where people congregate.
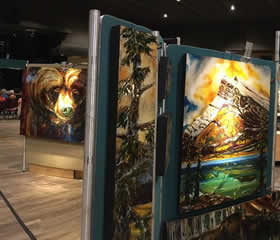
Proper lighting makes a Zimmerman painting sparkle
Art For Sale
Galleries
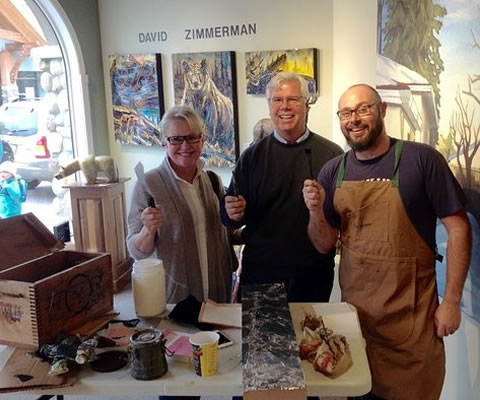
View David Zimmerman’s works in one of the galleries in which he is featured and keep informed about demos and art shows.

